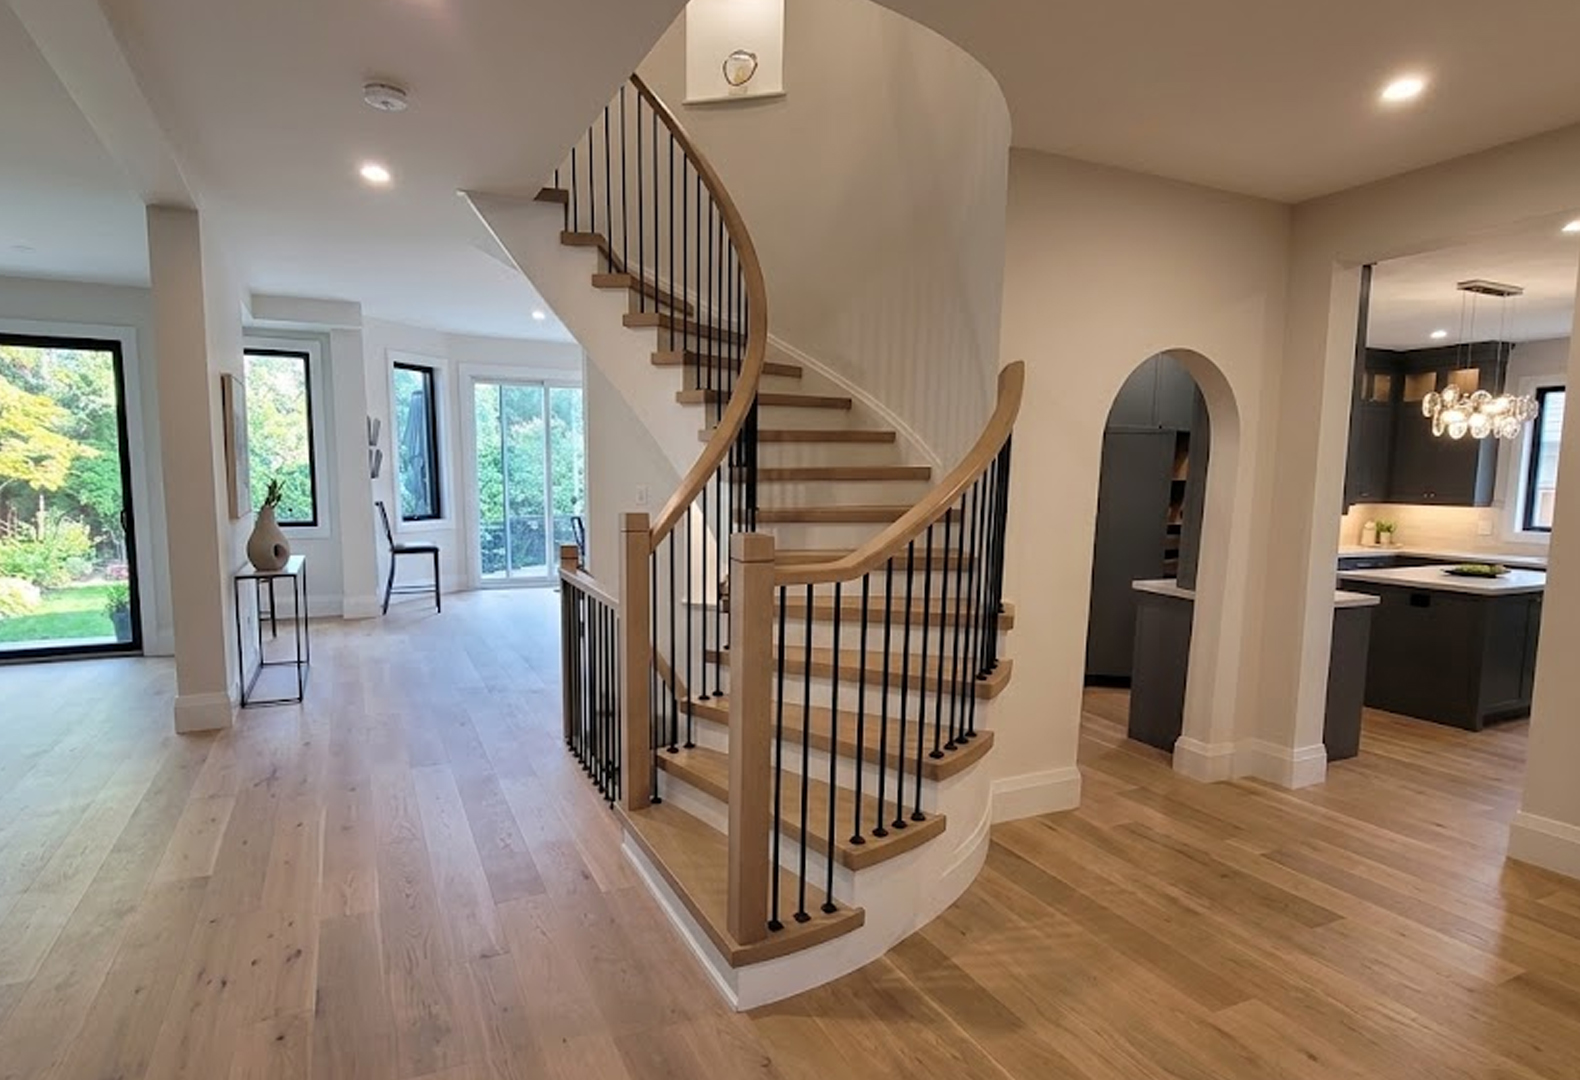
A complete hardwood flooring installation should include old flooring removal, subfloor levelling and moisture testing, acclimation, the right install method, trim and transitions, cleanup, a final walkthrough and a warranty on the installation. Use this checklist to compare any quote you receive.
Hardwood Flooring Installation Checklist
| What to look for | Why it matters | Included at AV Floors |
| Old flooring removal and disposal | You’re not left dealing with the old floor yourself | Yes |
| Subfloor levelling and moisture testing | Keeps the new floor flat and stops it gapping or cupping later | Yes |
| Acclimation of the new wood | Helps the floor stay tight for years | Yes |
| Right install method for your subfloor | Nail-down, staple-down, glue-down or floating | Yes |
| Trim, transitions and stair nosing | The edges decide whether the floor looks finished | Yes |
| Furniture moving and protection | Larger furniture moved and reset; walkways covered | Yes |
| Job site cleanup | Cleaned up before we leave each day | Yes |
| Final walkthrough | Every board and edge checked with you | Yes |
| Warranty on the installation | You’re not on your own if something needs a look | Yes |
Two hardwood quotes land in your inbox. One is noticeably lower. Before you pick it, check it against the list above. At AV Floors, a GTA flooring contractor, every item on it is part of the job. Here’s why each one matters.
1. Old Flooring Removal and Disposal
Your old carpet, laminate or tile has to come out and go somewhere. Ask whether that’s part of the quote or an extra step you’ll deal with yourself.
We remove and dispose of the old flooring as part of the job.
2. Subfloor Levelling and Moisture Testing
This is the step people skip. It’s also the step that causes the most trouble later.
Once the old floor is up, we check the subfloor for moisture and level. We level where needed, so your new floor lays flat and stays that way.
If an installer can’t tell you how they check the subfloor, that’s your answer.
3. Acclimation
We let the new wood acclimate to your home before installing it.
It’s a waiting period that feels slow when you’re excited to see the new floor. But it’s part of what keeps the boards tight for years. No shortcuts on prep. That’s what keeps floors from gapping or cupping later.
4. The Right Installation Method
Hardwood can go down in several ways: nail-down, staple-down, glue-down or floating. The right choice depends on your subfloor, the room and the product.
A proper quote tells you which method is being used, and why.
5. Solid Hardwood Installation vs. Engineered
Your installer should help you choose. It shouldn’t be a guess.
- Solid hardwood can be sanded and refinished many times, but it’s more sensitive to moisture.
- Engineered hardwood handles basements and homes with radiant heat better.
We install both, in all major species, and we’ll recommend one based on your room during the estimate.
6. Trim, Transitions and Stair Nosing
The edges are where a hardwood floor looks either finished or unfinished. That includes trim along the walls, transitions where hardwood meets another floor, and stair nosing where the floor meets your staircase.
We install the hardwood room by room and finish the trim and transitions last. If your stairs are part of the project, our stair installation team matches the nosing to your new floor and colour-matches stain and species so the two flow together.
7. Furniture Handling and Protection
We ask you to clear small items and breakables. Our crew handles moving and resetting the larger furniture. We cover walkways, protect your furniture and clean up before we leave each day.
8. Cleanup and a Final Walkthrough
The job isn’t done when the last board goes down. We clean the job site, then walk the space with you to make sure every board and edge meets your standard.
9. Warranty
Ask two separate questions: is the installation covered, and is the material covered?
Our installation work is covered by warranty. Manufacturer warranties on the flooring material itself vary by product.
What About Hardwood Flooring Cost in Toronto?
Every home is different, so a real number needs a real visit. Room size, the species you choose, solid vs. engineered, the condition of the subfloor and the amount of trim and transition work all shape the final quote. That’s true of Toronto hardwood flooring projects of any size.
What we can promise is how the price works. We visit your home, measure the space, talk through wood options, and give you one written quote before any work begins. No surprise charges once the job is underway.
How Long Does a Hardwood Flooring Installation Take?
Most single rooms take one to two days. A full main floor usually takes three to five days, depending on the layout and any subfloor repairs needed.
Flooring Installation FAQs
Get a Quote for Hardwood Flooring Installation in the GTA